


#1 Remove seat assembly
Remove the seat assembly from the vehicle, referring to the TESLA service manual.
A special release key (SST) is required to remove the seat belt.

#2 Remove seat belt Buckle
Remove the seat belt buckle from the seat, referring to the TESLA service manual.

#3 Remove Pretensioner
Remove the seat belt buckle from the seat, referring to the TESLA service manual.
TESLA Service Manual is Here
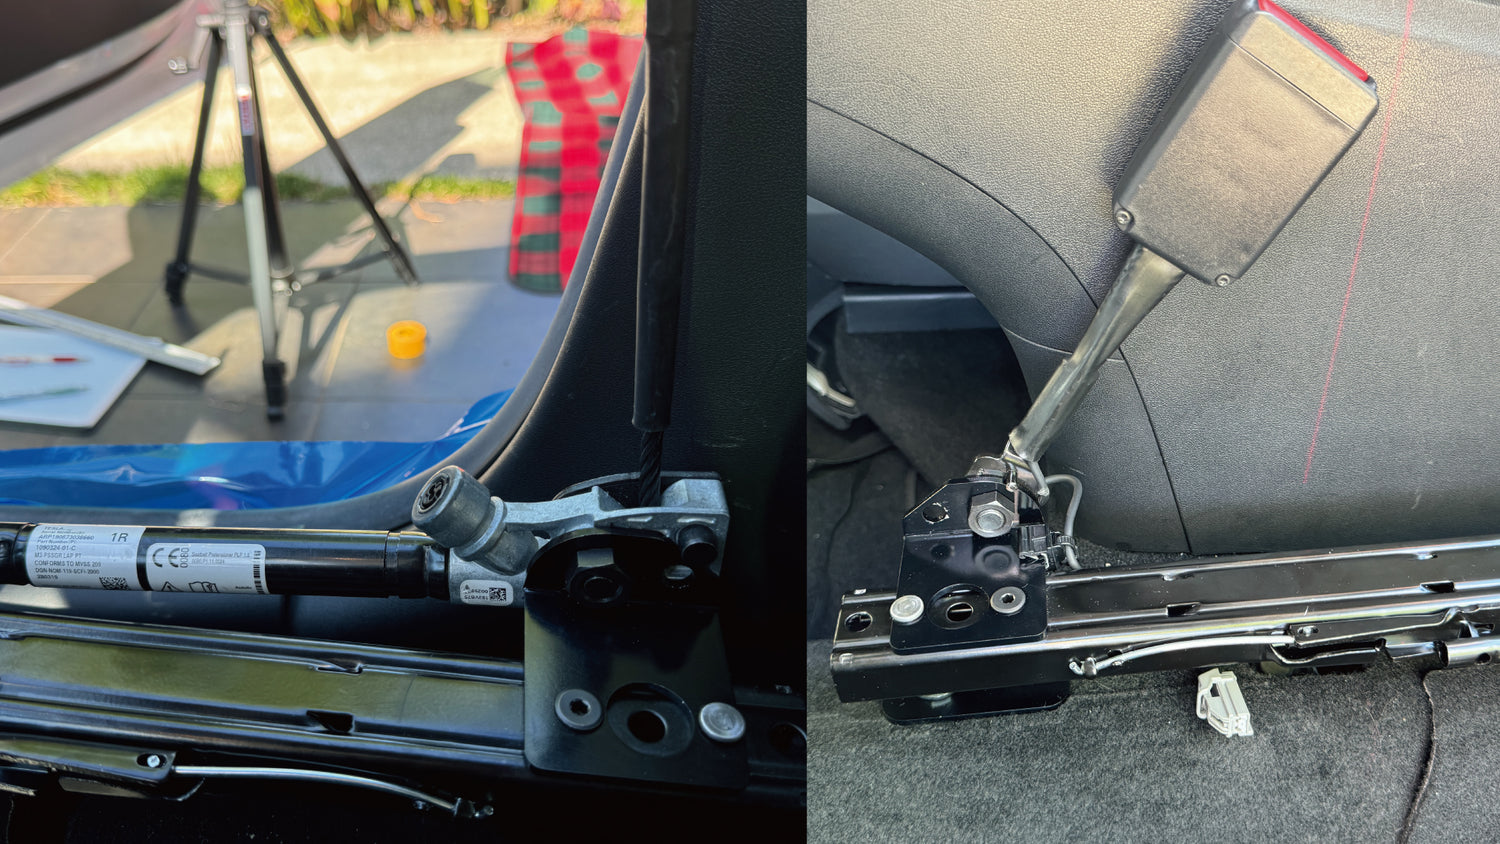
#4 Mounting to Bracket
Mount the seatbelt buckle and pretensioner, removed in the previous step, on the bracket provided with the Sliderbase.
Use the factory bolts and nuts included with the Sliderbase.
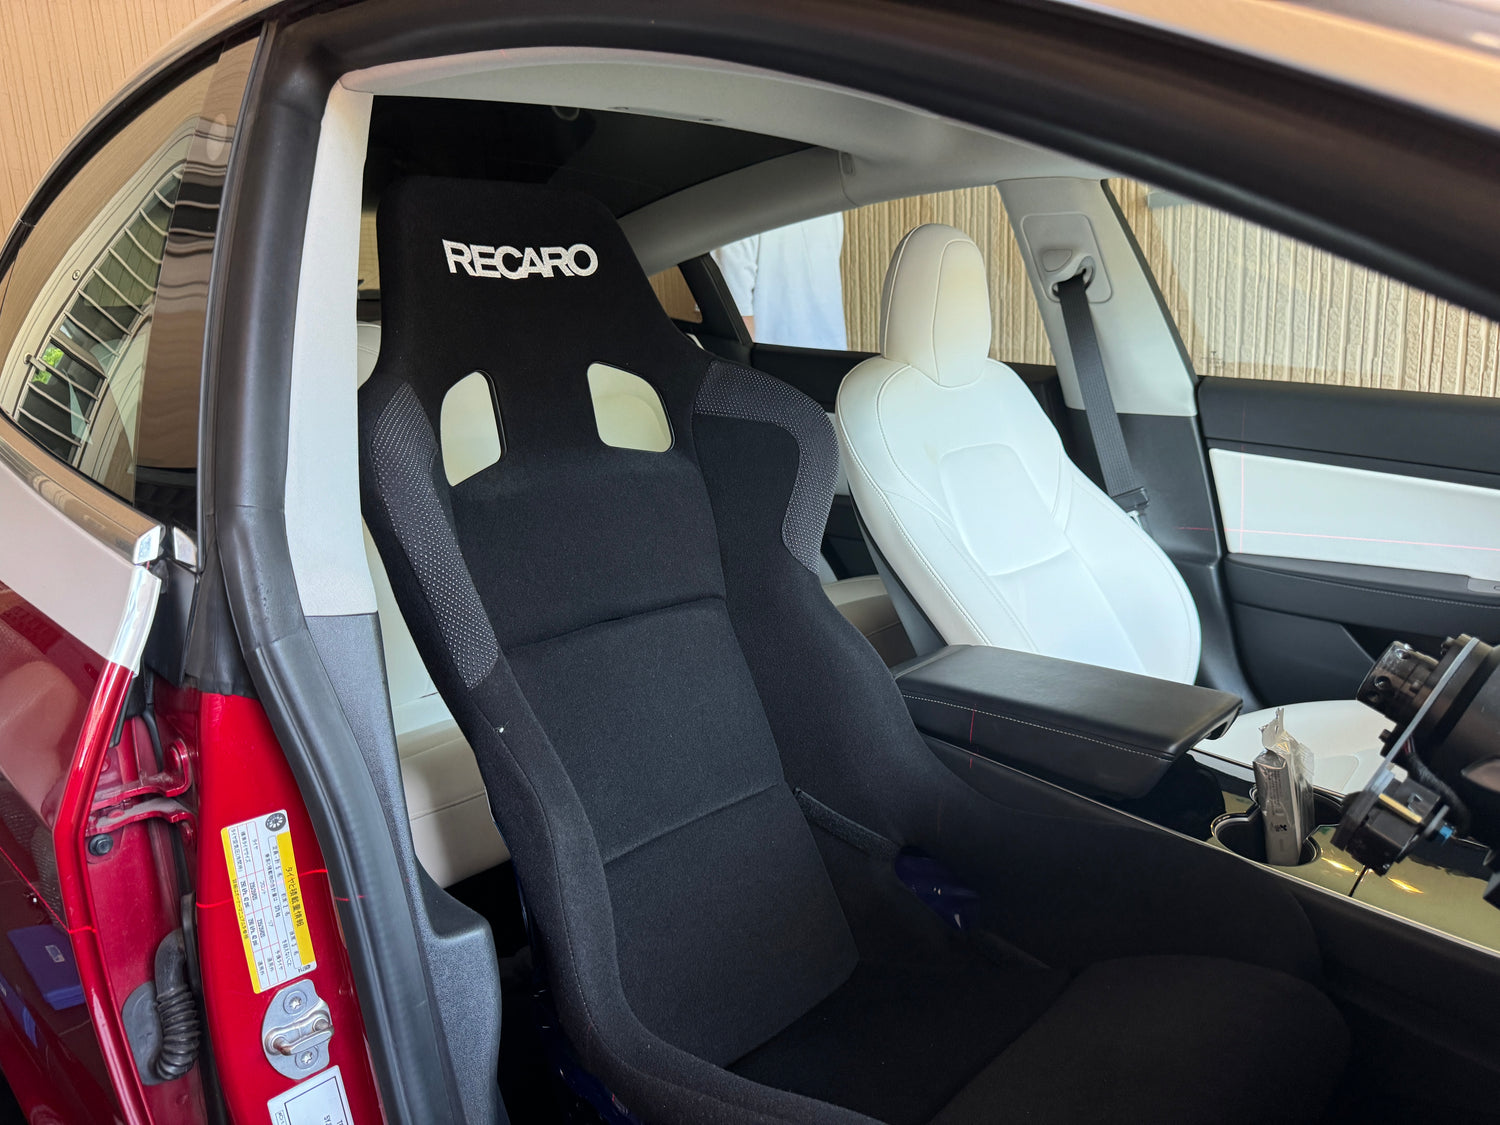
#5 Mount Sports Seat
Mount the seat while adjusting the seat position according to the manual for the bucket seat to be installed.
Using Emulation Harness, connect the couplers for the vehicle side, pretensioner, seatbelt buckle, and occupancy sensor, and the installation is complete.
Emulation Harness Setting Guide
Airbag Setting
-

Dual Airbag Mode
When using the Model 3 HighLand and Model Y(Legacy&Juniper), set the DIP switch to “D” and set the mode to Dual Airbag mode.
-

Single Airbag Mode
When using the Model 3 (not HighLand), set the DIP switch to “S” and set the mode to Single Airbag mode.


Seat Side Setting
-

LEFT Side Mode
When using the left side seat, set all 5 DIP switches to the “LEFT” side.
*Driver's seat in LHD vehicles, passenger seat in RHD vehicles
-

RIGHT Side Mode
When using the right side seat, set all 5 DIP switches to the “RIGHT” side.
*Driver's seat in RHD vehicles, passenger seat in LHD vehicles

